CGCircuit – Realistic Face with Zbrush and Mari Course Download
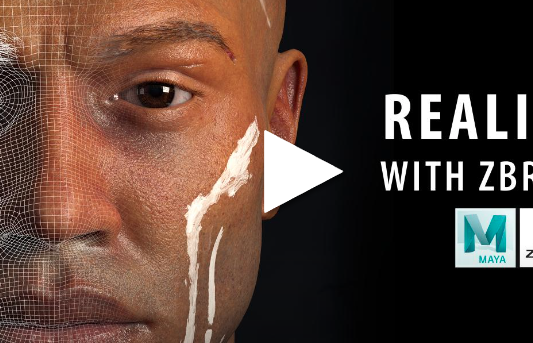
In this online course, the viewer will learn how to create a realistic human face ready for production using Zbrush, Maya and Mari.
We will start with a 2D concept as a base but we will create the face based on real people references and the basis on facial anatomy. We will do all the sculpting in Zbrush, retopology and UVs in Maya and the texturing in Mari using Texturing XYZ files, also we will use Substance Painter just to create some masks.
This course has been designed for beginner and intermediate students with a passion for realism and human faces. This is the second of a series of tutorials where we will create a full 3D character ready for production. For this course, it will be ideal to have a basic previous knowledge of Zbrush, Maya and Mari as in this course we don’t teach the software itself but the fundamentals of the creation of a character and the full workflow to make it ready for production.
After viewing this course, people can expect to be able to replicate realistic human faces using the same workflow used for film and TV production pipelines like Pirates of the Caribbean, Vikings or Game of Thrones. This is a key element in the process of getting a job as a Character Artist in the industry or just to make successful 3D character art pieces.
I am a designer, 3D Character and asset artist from Argentina working freelance for different industries, I love to work on realistic characters and I try to push my limits in each piece. One of my latest projects was the “Bedouin Elf ”. With this project, I was lucky enough to get it selected on the Zbrush Summit 2020 Highlights and that gave me a lot of exposure.
I am excited about sharing my workflow with you and helping you to get the first steps in this amazing world of character creation.
Note: Unfortunately, we cannot share the textures used from Texturing XYZ or 3d.sk because of their rights. But you can purchase this on your own or, as I will also be teaching you the photo projection workflow, you can get any photo set that you choose from the internet and you would still be able to follow the lessons with it.
Note 2: The tutorial was recorded on a 4K screen and is displayed in full HD, this is because the goal of this course is for you to understand the workflow and see what I work on the frame buffer and not so much specifically which bottoms do I press.

Post Comment